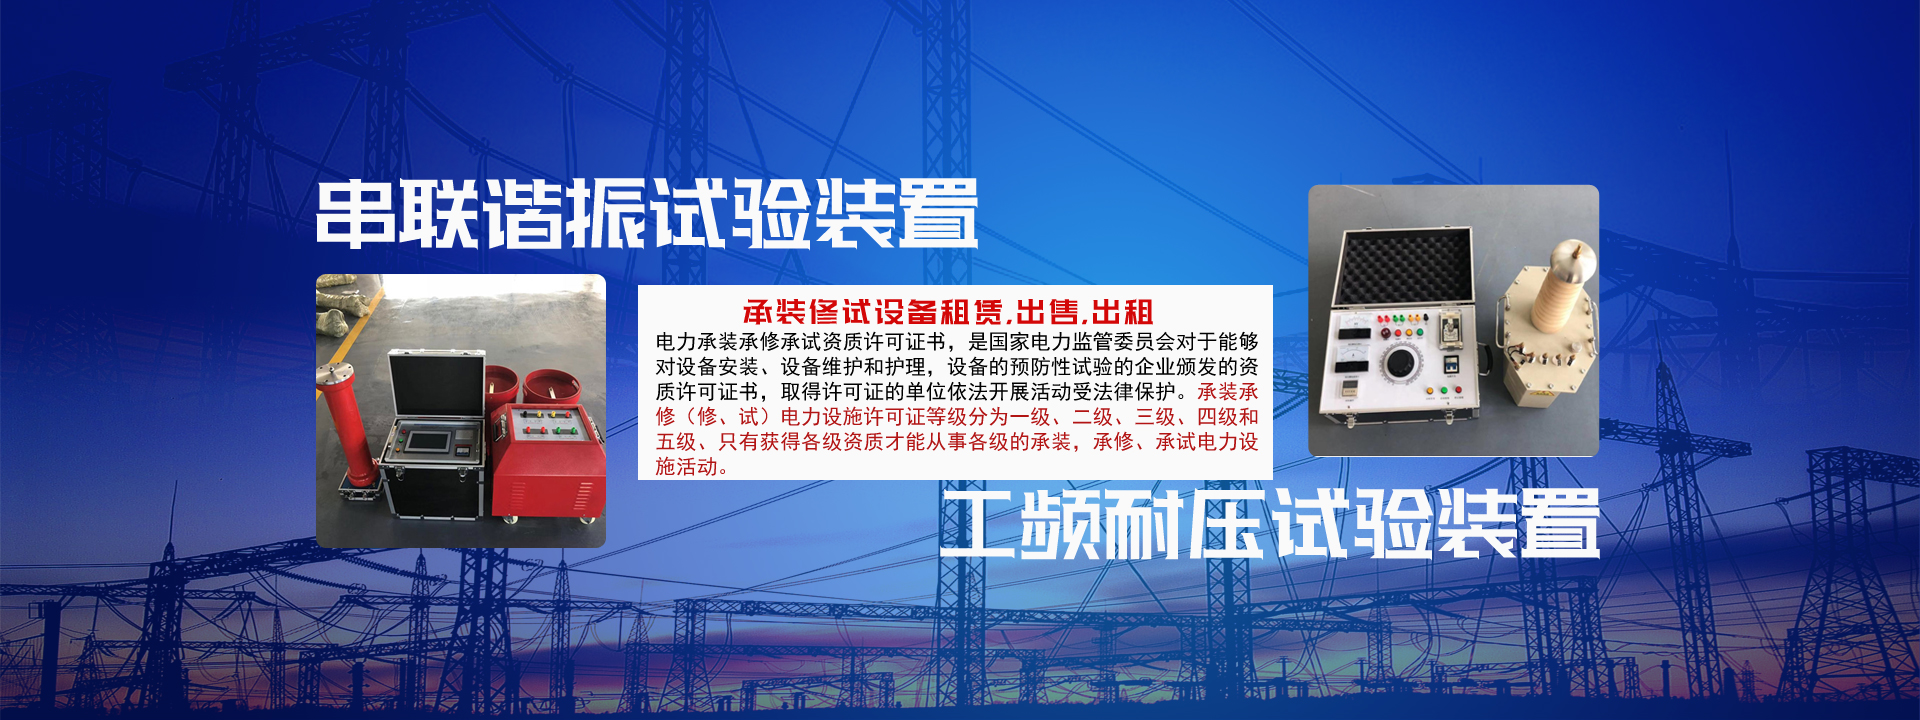
30KVA/100KV Withstand Voltage Test Transformer
DARU Electric recommends
Product Structure
The iron core is of single-frame type. The coil adopts a coaxial cylindrical multi-layer tower structure. The primary low-voltage winding is wound on the iron core, and the secondary high-voltage winding is wound outside the low-voltage winding. This coaxial arrangement reduces the coupling loss between windings. The high-voltage silicon stack is encapsulated in the bushing with a special process. The outer shell of the product is made into an octagonal structure that fits well with the core assembly, presenting an overall beautiful and elegant appearance. Its internal and external structure is shown in Figure 1.
Product Model Meaning:
Y D Q C( )—□ / □

Figure 1: Structural Schematic Diagram
1-Voltage equalizing ball; 2-Silicon stack short-circuit rod; 3-High-voltage bushing; 4-Oil valve; 5-Housing; 6,7-Adjusting voltage input terminals a, x; 8,9-Instrument measurement terminals E, F; 10-High-voltage tail terminal X; 11-Transformer shell grounding terminal; 12-High-voltage output terminal A; 13-High-voltage rectifier silicon stack; 14-Internal voltage equalizing ring; 15-Transformer iron core; 16-Primary low-voltage winding; 17-Measurement instrument winding; 18-Secondary high-voltage winding; 19-Transformer oil.
Working Principle
It is a single-phase transformer with connection group label II. The working process of a single transformer: AC 220V (above 10KVA, 380V) voltage is connected to the power control box (console), and through the internal auto-transformer (for above 50KVA, external) in the power control box (console), the voltage is adjusted from 0~200V (above 10KVA, 0~400V) to the primary winding of the test transformer. According to the principle of electromagnetic induction, the required high voltage for testing can be obtained at the high-voltage winding of the transformer. Its working principle diagram is shown in Figure 2.
1. Working Principle Schematic Diagram

Figure 2: Working Principle Schematic Diagram
In the test transformer: a, x are the low-voltage input terminals; A, X are the high-voltage output terminals; E, F are the instrument measurement terminals.
2. The working principle of a single AC/DC dual-purpose transformer is shown in Figure 3. In the figure: a high-voltage silicon stack is installed inside the high-voltage bushing, connected in series in the high-voltage circuit for high-voltage rectification to obtain DC high voltage. When a short-circuit rod is used to short-circuit the high-voltage silicon stack, AC high voltage can be obtained, and its state is AC output; conversely, when the short-circuit rod is pulled out, its state is DC output.
3. The principle of obtaining higher voltage by cascading three transformers is shown in Figure 4. Cascaded transformers have great advantages because the entire test device consists of multiple single cascaded test transformers. A single test transformer has the characteristics of small size, light weight, and easy transportation. It can be connected in series to combine outputs several times higher than a single test transformer's output voltage, or used separately. The entire test device has low investment and is economical. As shown in Figure 3: In the cascaded use of three cascaded test transformers, the output voltage of each single transformer B1, B2, B3 is U. The first and second stage test transformers each have an excitation winding inside, namely A1, C1 and A2, C2. When the control voltage is applied to the primary winding a1, x1 of the first-stage transformer B1, the excitation winding A1, C1 supplies power to the primary winding of test transformer B2, and the excitation winding A2, C2 of the second-stage test transformer B2 supplies power to the primary winding of test transformer B3. Since the high-voltage tail and shell of the first-stage transformer B1 are grounded, the second and third stage transformers B2 and B3 are isolated from ground by insulating supports, so the output voltages of transformers B1, B2, B3 to ground are 1U, 2U, 3U respectively.

Figure 3: Schematic Diagram of Cascaded Working Principle of Three High-Voltage Test Transformers
B1, B2, B3- Cascaded high-voltage transformers; 1U, 2U, 3U- Voltage to ground at each stage;
PV- High-voltage indicator meter (KV); ZJ1, ZJ2- Insulating supports.
Usage Methods and Precautions
1. For power frequency withstand voltage test, the wiring method is shown in Figure 5. Before the power frequency withstand voltage test, first select the resistance value of the current limiting resistor (water resistor) according to the rated capacity of the test transformer, then adjust the sphere gap distance of the discharge sphere gap according to the high voltage value to be applied to the test object. To improve the measurement accuracy of the voltage applied to the test object, an FRC resistive-capacitive voltage divider should be connected on the high-voltage side to measure the voltage.

Figure 4: Schematic Diagram of Wiring for Power Frequency Withstand Voltage Test
R1, R2- Current limiting resistors; Qx- Discharge sphere gap; Zx- Test object;
FRC- Resistive-capacitive voltage divider; V- High-voltage meter of the voltage divider.
According to Figure 4, combined with Figure 2, connect the working circuit for the power frequency withstand voltage test. The X terminal (high-voltage tail) of the high-voltage winding of the test transformer, the F terminal of the instrument measurement winding, the shell of the test transformer, and the shell of the power control box (console) must be reliably grounded.
When using three test transformers in cascade for power frequency withstand voltage test, the X terminal of the primary winding, the F terminal of the instrument measurement winding, and the X terminal (high-voltage tail) of the high-voltage winding of the second and third stage test transformers are all connected to the shell of the respective stage test transformer. The main bodies of the second and third stage test transformers must be placed on insulating supports. Except for the first stage, the main bodies of the second and third stage test transformers should not be grounded. The wiring method is shown in Figure 3.
Before connecting the power supply, the voltage regulator of the power control box (console) must be adjusted to zero. After connecting the power supply, the green indicator light turns on. Press the start button, the red indicator light turns on, indicating that the test transformer has been connected to the control power supply and voltage boosting begins.
From the zero position, rotate the voltage regulator handwheel clockwise at a uniform speed to boost the voltage. (Boosting methods include: fast boosting method, i.e., 20S step-by-step boosting method; slow boosting method, i.e., 60S step-by-step boosting method; and extremely slow boosting method for selection) The voltage starts from zero and rises at the selected boosting speed to 75% of the required rated test voltage, then rises at a speed of 2% of the rated test voltage per second to the required test voltage, while closely observing the indication of the measuring instruments and the condition of the test object. After the time for applying voltage to the test object is reached, the voltage regulator should be returned uniformly within a few seconds, and the high voltage should be reduced to below 1/3 of the test voltage. Press the stop button, the high-voltage and low-voltage outputs stop, then cut off the power line, and the test is completed.
Power Frequency Withstand Voltage Test Operation Process
Precautions:
1. Test personnel should divide responsibilities, set up a safe distance at the test site, carefully check the grounding of the test object and the test transformer, and have dedicated personnel to monitor safety and observe the condition of the test object.
2. The main parts of the test object should be cleaned and kept absolutely dry to avoid damage to the test object and errors in test values.
3. For tests on large equipment, a no-load test of the test transformer should generally be performed first, i.e., boosting to the test voltage without connecting the test object, to calibrate the indication accuracy of the instruments and adjust the sphere gap distance of the discharge sphere gap.
4. During the withstand voltage test, the boosting speed should not be too fast, and sudden voltage application should be prevented, such as sudden closing when the voltage regulator is not at zero, and sudden power off should also be avoided. Generally, the switch should be opened after the voltage regulator is reduced to zero.
5. During the boosting or withstand voltage test, if the following abnormal conditions are found: 1. The voltage and current meter pointers swing greatly, 2. The test object emits abnormal sounds, 3. Insulation is found to be burnt or smoking, the voltage should be immediately reduced, the power cut off, the test stopped, and the cause investigated.
6. When using this product for high-voltage tests, in addition to being familiar with this manual, national standards and operating procedures must be strictly implemented.
2. For DC withstand voltage and leakage test, the wiring method is shown in Figure 5. Since it is an AC/DC dual-purpose transformer, the high-voltage silicon stack short-circuit rod should be pulled out from the bushing to make the transformer in DC output state. Before the DC leakage test, first select the resistance value of the current limiting resistor (water resistor) based on the condition that the open-circuit current at the output end during the leakage test does not exceed the maximum rectification current of the high-voltage silicon stack, then select the capacitance value of the high-voltage filter capacitor according to the requirements of the test object for the DC high-voltage waveform. To improve the measurement accuracy of the voltage applied to the test object, an FRC resistive-capacitive voltage divider should be connected on the high-voltage side to measure the voltage.

Figure 5: Schematic Diagram of Wiring for DC Leakage Test
R- Current limiting resistor; C- High-voltage filter capacitor; Zx- Test object; G- Silicon stack short-circuit rod;
FRC- Resistive-capacitive voltage divider; V- High-voltage meter of the voltage divider; uA- Microammeter; D- High-voltage rectifier silicon stack.
According to Figure 5, combined with Figure 3, connect the working circuit for the DC leakage test. The X terminal (high-voltage tail) of the high-voltage winding of the test transformer, the F terminal of the instrument measurement winding, the shell of the test transformer, and the shell of the power control box (console) must be reliably grounded.

Wiring Schematic Diagram

Wiring Schematic Diagram
Before connecting the power supply, the voltage regulator of the power control box (console) must be adjusted to zero. After connecting the power supply, the green indicator light turns on. Press the start button, the red indicator light turns on, indicating that the test transformer has been connected to the control power supply and voltage boosting begins.
From the zero position, rotate the voltage regulator handwheel clockwise at a uniform speed to boost the voltage. (Boosting methods include: fast boosting method, i.e., 20S step-by-step boosting method; slow boosting method, i.e., 60S step-by-step boosting method; and extremely slow boosting method for selection) The voltage starts from zero and rises at the selected boosting speed to the required rated test voltage or the reference voltage under the rated DC current. During the test, close attention should be paid to the DC high-voltage meter, leakage current meter indications, and the condition of the test object. After the test is completed, the high voltage should be quickly and uniformly reduced to zero, press the stop button, the high-voltage and low-voltage outputs stop, then cut off the power supply. At this time, a DC high-voltage discharge rod should be used to fully discharge the test object and the test device itself.
Precautions:
(1) Test personnel should divide responsibilities, set up a safe distance at the site, carefully check the grounding of the test object and the test transformer, and have dedicated personnel to monitor safety and observe the condition of the test object.
(2) Before testing the test object, all external connections should be removed, and the object should be fully discharged. The main parts should be cleaned and kept absolutely dry to avoid damage to the test object and errors in test values.
(3) For large-capacity test objects (capacitors, extra-long cables, etc.), the voltage should be raised slowly during the test to prevent the charging current of the test object from being too large and burning out the microammeter. If necessary, the voltage should be raised in stages and the stable readings of the microammeter at each voltage should be recorded separately.
(4) During the test, the test object, microammeter, and test device should be closely monitored. Once flashing, breakdown, or other phenomena occur, the voltage should be immediately reduced, the power cut off, and the cause investigated.
Optional Supporting Products
The following products are for selection only and are priced separately when purchased.
1. KZX series power control box, capacity: 1KVA-5KVA, input voltage: 220V
2. KZT series power control console, capacity: 10KVA~300KVA, input voltage: 220V or 380V
3. Digital microammeter: SWB-II
4. High-voltage filter capacitor: 0.01MF, 40 ~ 100KV
5. High-voltage DC discharge rod: FBR—70, 140, 210KV
6. Discharge sphere gap: Q—50, 100, 150, 200, 250, 500
7. Standard test oil cup: 400ml
8. Folding trolley: 150, 300 type
9. Insulating support: 50, 100, 200, 300, 400KV
10. Resistive-capacitive voltage divider: FRC—50, 100, 150, 200KV
11. High-voltage silicon stack: 2DL—150, 300, 450KV
12. Water resistor: 50, 100
6. Selection of Main Test Equipment
1. Transformer
Its high-voltage side rated voltage should not be less than the maximum test voltage of the test object, and the rated current should not be less than the maximum capacitive current of the test object. The calculation formula for the capacitive current of the test object and the required capacity of the transformer is:

The capacitance Cx of the test object can be measured by an AC bridge. The commonly used capacitance of test objects is selected according to Table 1.
Capacitance of Several Common Test Objects (pF) Table 1

2. Voltage regulating equipment
(1) Auto-transformer. It has a wide voltage regulation range, low power loss, and small waveform distortion. This voltage regulation method is preferred. The capacity of the auto-transformer is selected as 0.75 ~ 1 times the capacity of the test transformer, suitable for voltage regulation of transformers with a capacity below 100KVA.
(2) Induction voltage regulator. It has a large voltage regulation range and small waveform distortion, but its structure is complex and the price is higher. It is used when the capacity of the transformer is large (e.g., above 100KVA).
3. Current limiting resistor
The function of the current limiting resistor is to limit the short-circuit current when the test object breaks down, thereby protecting the transformer and preventing the expansion of the fault. Its value is based on the maximum test voltage, selected at 0.5 ~ 1 Ω / V (effective value). The current limiting resistor can be a water resistor. Note that the water should not fill the glass tube completely; leave some space to prevent bursting.
4. Discharge sphere gap
The arrangement of the discharge sphere gap can be vertical or horizontal. The relationship between the sphere gap distance S and the sphere diameter D should be maintained within the range of 0.05D ≤ S ≤ 0.5D. The water resistance value on the sphere gap is generally selected at 0.1 ~ 1 Ω/V. The purpose of setting the discharge sphere gap is to protect important test objects and limit overvoltage caused by misoperation or breakdown of the test object within the allowable range.
Technical Specifications of Test Transformer
|
Model
|
Capacity
|
High Voltage
|
High Voltage Current
|
Low Voltage Input
|
Ratio
|
Temperature Rise ℃
|
|
(KVA)
|
(KV)
|
(mA)
|
Yangzhou Darui Electric Co., Ltd.
主营产品:Dielectric Loss Tester、Transformer Ratio测试仪、Loop Resistance Tester、高压None线核相仪、Insulation Resistance Tester、Partial Discharge Tester、Cable Fault Tester、DC Resistance Tester等。
☎ Phone: 18952707000(关经理)📞 Landline: 0514-88770377✉ Email: 195214804@qq.com
| |